Set up a NixOS PC running a self-hosted Google Photos replacement (called "Immich") and expose it safely to the internet via a Cloudflare tunnel.
No open ports. No subscription fees. Your photos, fully under your control.
Most oldre machines works — even an old laptop or mini-PC. 2 GB RAM minimum, 4 GB recommended.
A second drive (or partition) dedicated to photos. Size depends on your library — see our storage guide.
For flashing the NixOS installer. Will be wiped during the flashing process.
You need a domain pointed at Cloudflare nameservers. Domains cost ~£10/year, or register one free via Cloudflare.
Sign up at cloudflare.com. Zero Trust tunnels are completely free with no bandwidth limits.
To SSH into the server and follow this guide once NixOS is installed headlessly.

Above: A typical PC being configured to run the photos application.
configuration.nix file — if something goes wrong, you can roll back to the last working state with one command. Download the minimal ISO, flash it to a USB drive, then boot the server PC from it and run the installer.
Download the NixOS 24.11 minimal ISO from nixos.org/download. Then flash it with Balena Etcher (GUI) or dd on Linux/macOS.
/dev/sdX with your actual USB device. Double-check with lsblk first — writing to the wrong device will erase it. Boot the server from the USB. When you reach a shell, become root and partition the boot drive.
nixos-generate-config writes a starter
/mnt/etc/nixos/configuration.nix and detects your
hardware. You will replace most of it in Step 3, but run it now so the hardware
scan (hardware-configuration.nix) is generated.
nixos-installSetting root password...rebootAfter rebooting, SSH into the server as root using the password you set. From here everything is done remotely.
A Cloudflare tunnel lets Immich be reachable from the internet via your domain without opening any ports on your router. All traffic goes through Cloudflare's network.
immich — and click Save photos, Domain yourdomain.com, Service http://127.0.0.1:2283 CNAME DNS record for photos.yourdomain.com when you add the public hostname. No manual DNS editing needed.
The downloaded JSON is named after your tunnel ID (e.g. a1b2c3d4-....json).
Copy it to the server and lock down its permissions:
scp ~/Downloads/a1b2c3d4-tunnel.json root@your-server-ip:/etc/cloudflared/immich.jsonchmod 600 /etc/cloudflared/immich.json
This is the heart of NixOS. One file declares your entire system —
Immich, the Cloudflare tunnel daemon, SSH, firewall, and everything else.
Replace /etc/nixos/configuration.nix with the
following, adjusting the values marked with comments:
{ config, pkgs, ... }:

{
  imports = [ ./hardware-configuration.nix ];

  # ── Boot ────────────────────────────────────────────────────
  boot.loader.systemd-boot.enable = true;
  boot.loader.efi.canTouchEfiVariables = true;

  # ── Network ─────────────────────────────────────────────────
  networking.hostName = "photo-server"; # Change to your liking
  networking.networkmanager.enable = true;

  # ── Locale ──────────────────────────────────────────────────
  time.timeZone = "Europe/London"; # Change to your timezone
  i18n.defaultLocale = "en_GB.UTF-8";

  # ── User account ────────────────────────────────────────────
  users.users.alice = {  # Change 'alice' to your username
    isNormalUser = true;
    extraGroups = [ "wheel" "networkmanager" ];
    openssh.authorizedKeys.keys = [
      "ssh-ed25519 AAAA... paste-your-public-key-here"
    ];
  };
  security.sudo.wheelNeedsPassword = false;

  # ── SSH ─────────────────────────────────────────────────────
  services.openssh = {
    enable = true;
    settings.PasswordAuthentication = false; # Key-only login
  };

  # ── Photo storage drive ─────────────────────────────────────
  # Format your photos drive with: mkfs.ext4 -L photos /dev/sdXY
  fileSystems."/data/photos" = {
    device = "/dev/disk/by-label/photos";
    fsType = "ext4";
  };

  # ── Immich ──────────────────────────────────────────────────
  # NixOS manages PostgreSQL and Redis automatically for Immich
  services.immich = {
    enable = true;
    host = "127.0.0.1";    # Local only — tunnel handles external
    port = 2283;
    mediaLocation = "/data/photos";
    openFirewall = false; # Cloudflare tunnel handles ingress
  };

  # ── Cloudflare tunnel ───────────────────────────────────────
  services.cloudflared = {
    enable = true;
    tunnels = {
      "immich" = {
        # Path to the JSON you downloaded from the Cloudflare dashboard
        credentialsFile = "/etc/cloudflared/immich.json";
        default = "http_status:404";
        ingress = {
          # Change to your actual domain
          "photos.yourdomain.com" = "http://127.0.0.1:2283";
        };
      };
    };
  };

  # ── Firewall ────────────────────────────────────────────────
  # Only SSH — Cloudflare tunnel needs no open inbound ports
  networking.firewall = {
    enable = true;
    allowedTCPPorts = [ 22 ];
  };

  system.stateVersion = "24.11";
}services.immich module automatically enables and configures a PostgreSQL database and Redis instance. You do not need to set those up separately. If you do not already have one, create an Ed25519 key and paste the public key into the config above:
ssh-keygen -t ed25519 -C "photo-server"cat ~/.ssh/id_ed25519.pubssh-ed25519 AAAAC3NzaC1lZDI1NTE5AAAA... photo-serverSSH into the server and apply the config. NixOS will download and build everything — Immich, its dependencies, PostgreSQL, Redis, and the Cloudflare tunnel daemon — in one shot.
ssh root@your-server-ipnixos-rebuild switchbuilding the system configuration...activating the configuration...Done.The first build takes several minutes as packages are downloaded and compiled. Subsequent rebuilds are fast because NixOS caches unchanged outputs.
systemctl status immichsystemctl status cloudflared-tunnel-immichsystemctl status postgresqlAll three should show active (running). If any show failed, run journalctl -u service-name -n 50 to see the last 50 log lines.
Open https://photos.yourdomain.com in your browser. You should see the Immich welcome screen.
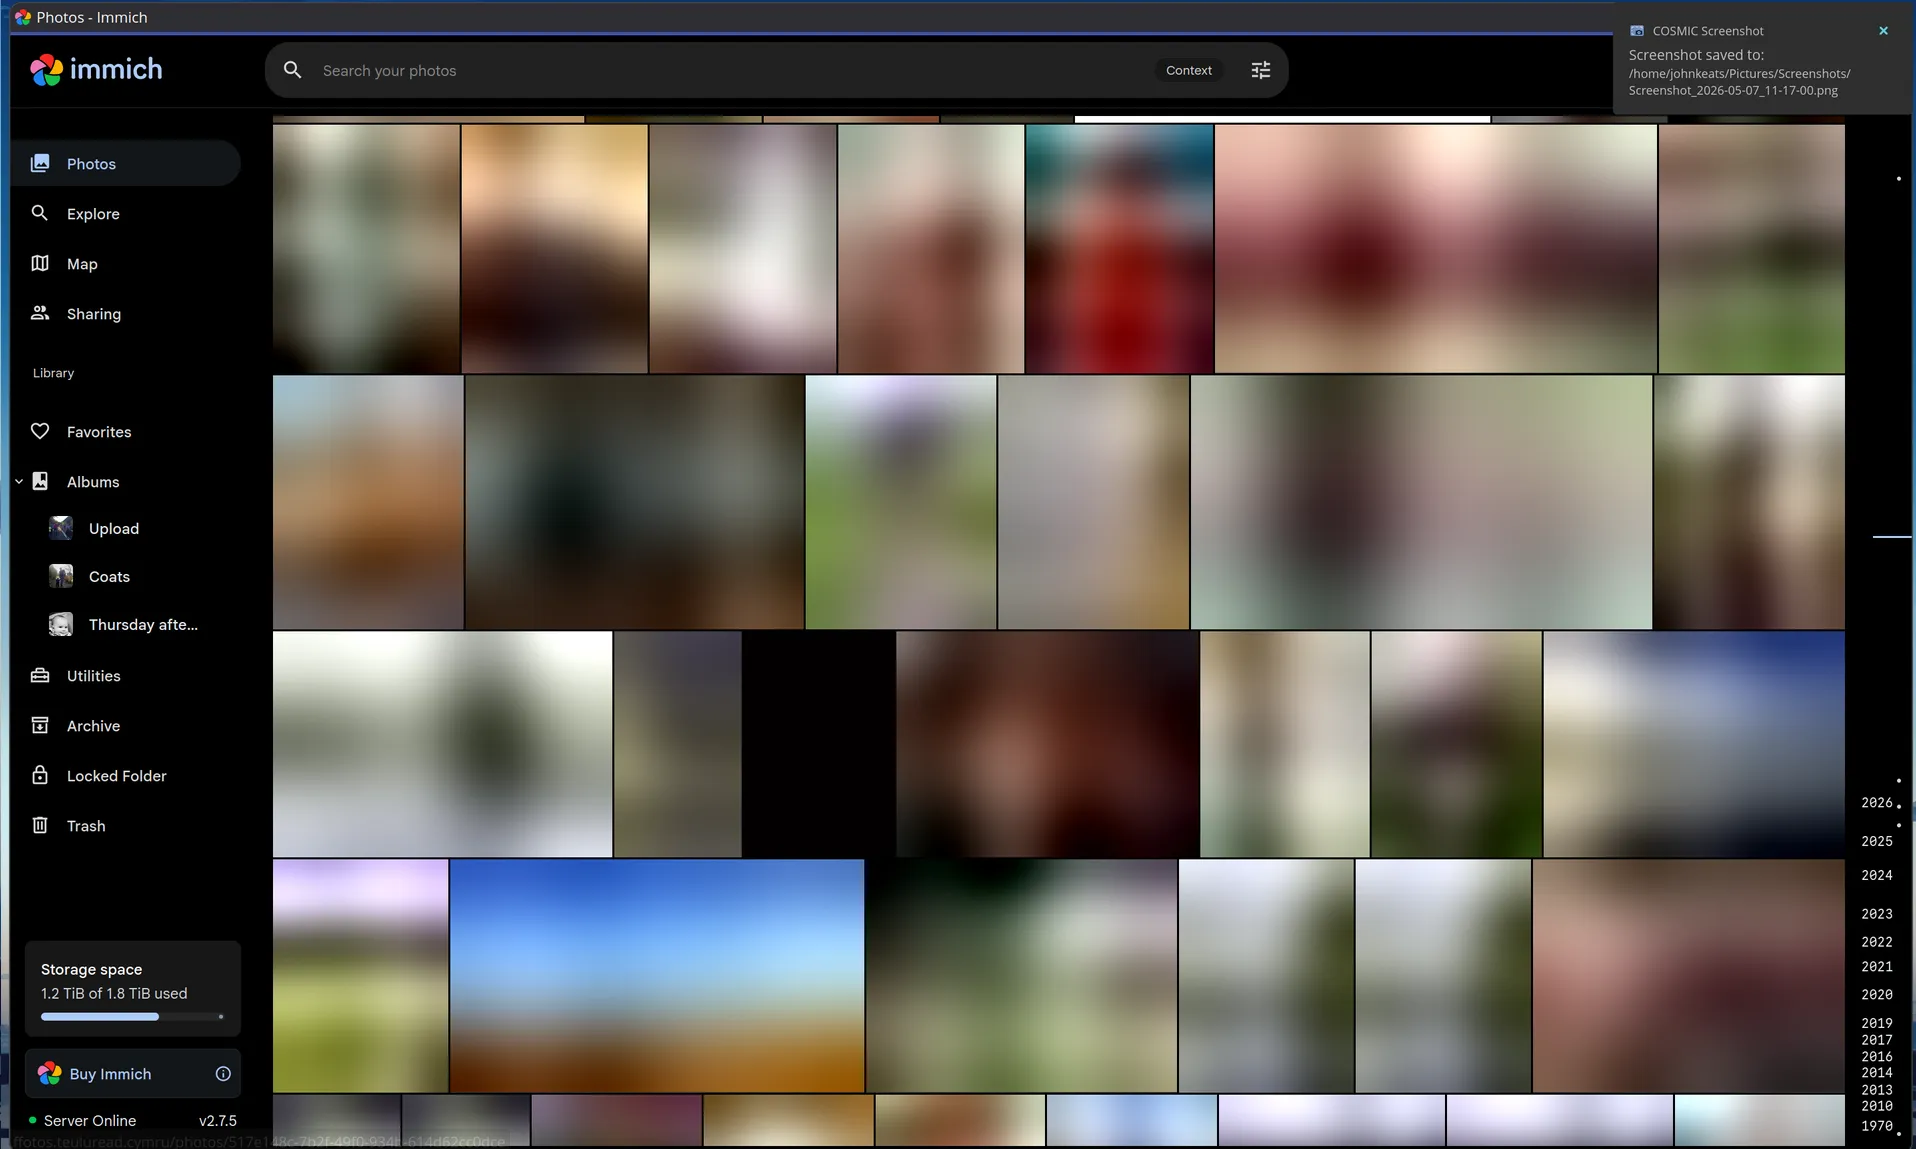
Above: The photos interface – a fully featured photos app with facial recognition, folders, OCR and even a map.
Curious about why each piece works the way it does? Read on.
NixOS is uniquely suited to a home server because it is
declarative and reproducible. Your entire
system state is described in one file. If Immich releases a breaking update,
you can roll back to yesterday's configuration with
nixos-rebuild switch --rollback.
No tracking down which packages changed, no manual cleanup.
It also has first-class Immich support via the
services.immich module, which handles
all the PostgreSQL extensions (pgvecto.rs for AI search),
Redis, and inter-service networking automatically — things that
require hours of manual configuration on a traditional distro.
Traditional port forwarding (opening port 443 on your router and pointing it at your server) works, but has serious drawbacks: your home IP address is exposed publicly, many ISPs block inbound port 80/443 on residential connections, and you are responsible for TLS certificate renewal.
A Cloudflare tunnel flips this model. The
cloudflared daemon on your server
dials outbound to Cloudflare's edge. Cloudflare then
routes incoming requests from your domain back through that established
connection. Your server never listens on an external port. Your home IP
is never exposed. TLS is handled entirely by Cloudflare.
The credentials file is a small JSON with three fields:
{
    "AccountTag":   "your-cloudflare-account-id",
    "TunnelSecret": "base64-encoded-32-byte-secret",
    "TunnelID":     "a1b2c3d4-e5f6-..."
  }
The TunnelSecret is what authenticates
your cloudflared daemon to Cloudflare.
It proves the connection is coming from you and not an impersonator.
This is why the file must be kept secret and readable only by the
cloudflared process.
With NixOS, upgrading is just updating your channel and rebuilding:
nix-channel --updatenixos-rebuild switchNixOS will fetch the new Immich version (and any updated dependencies) atomically. If the new version has a bug, roll back instantly:
nixos-rebuild switch --rollback
Use Google Takeout (see the How It Works guide)
to export your library as a .zip archive, then:
docker run --rm -v /path/to/takeout:/input ghcr.io/immich-app/immich-cli:latest upload --recursive /input